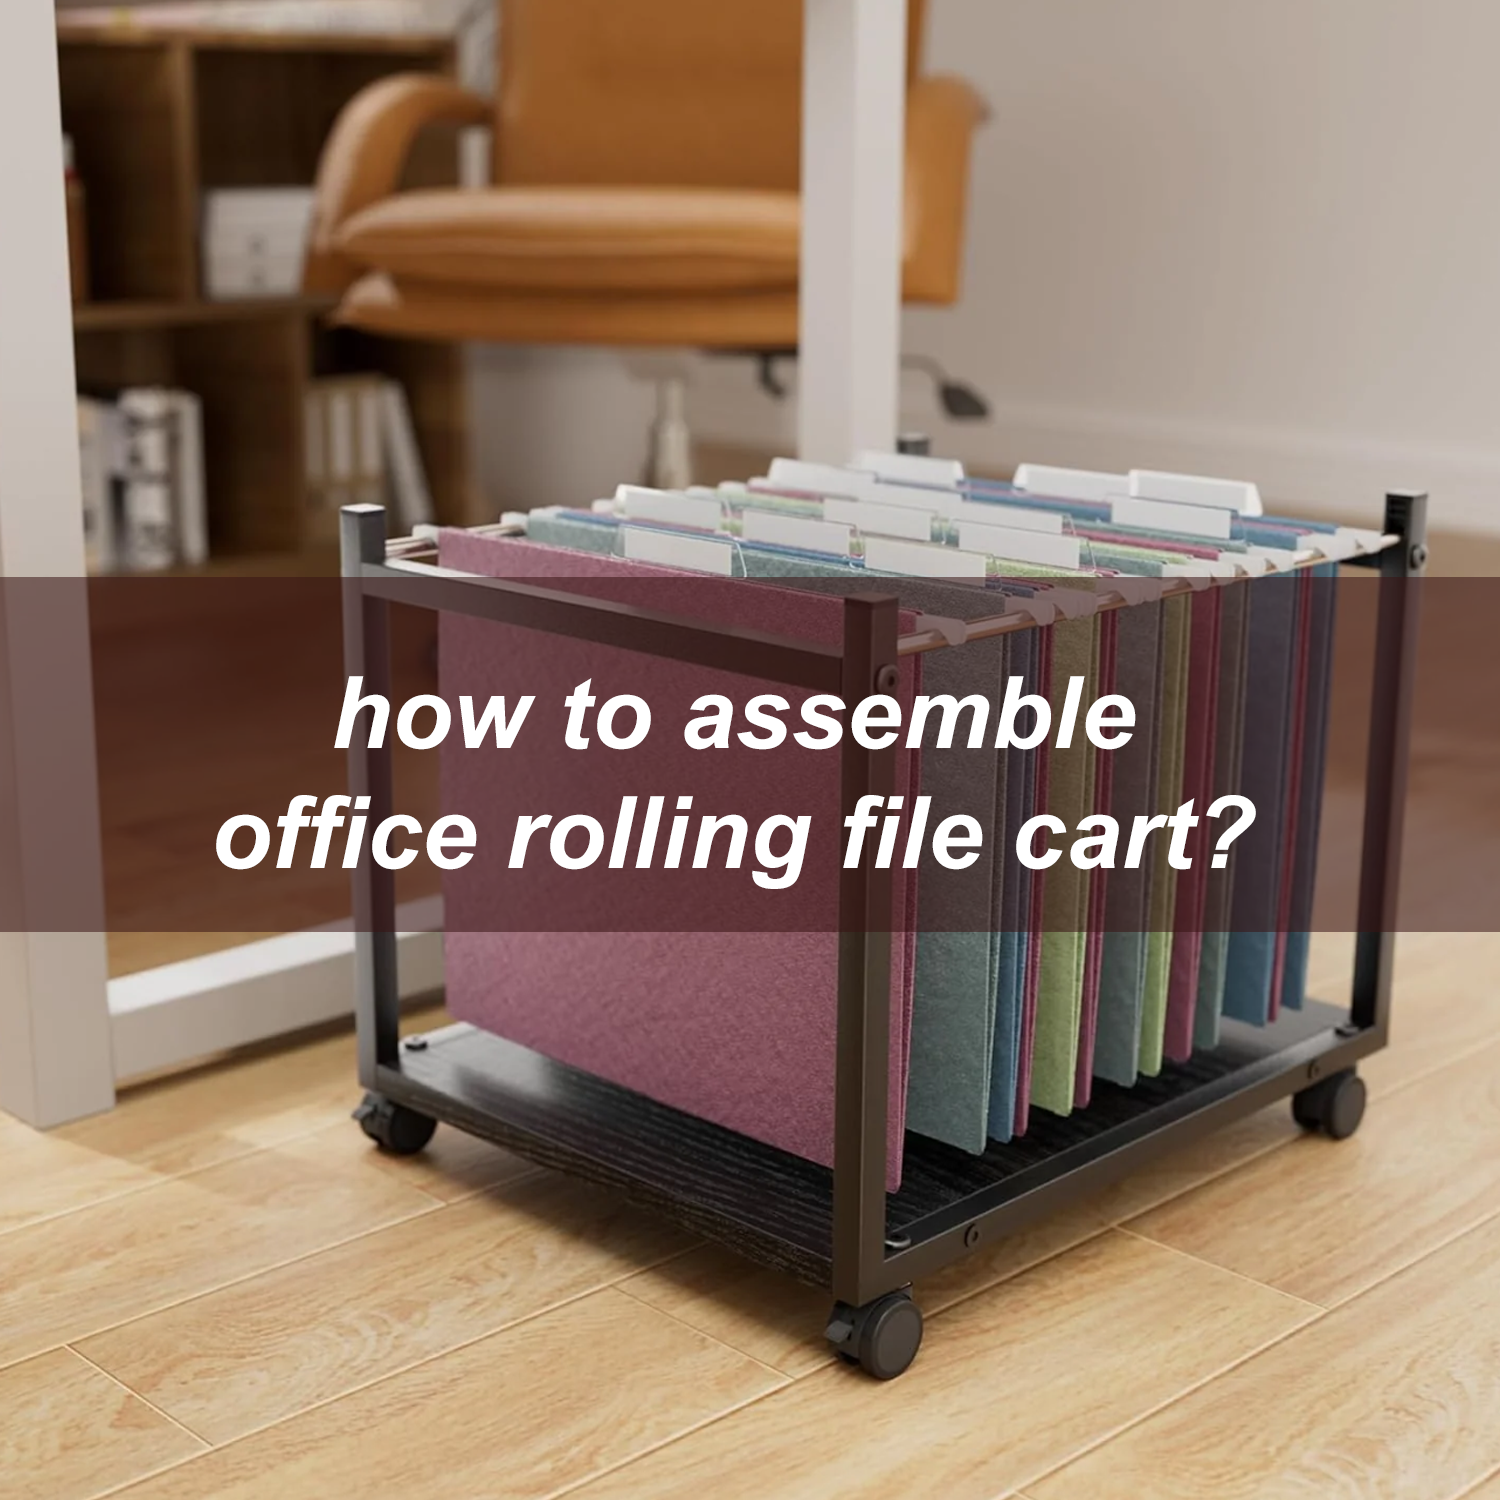
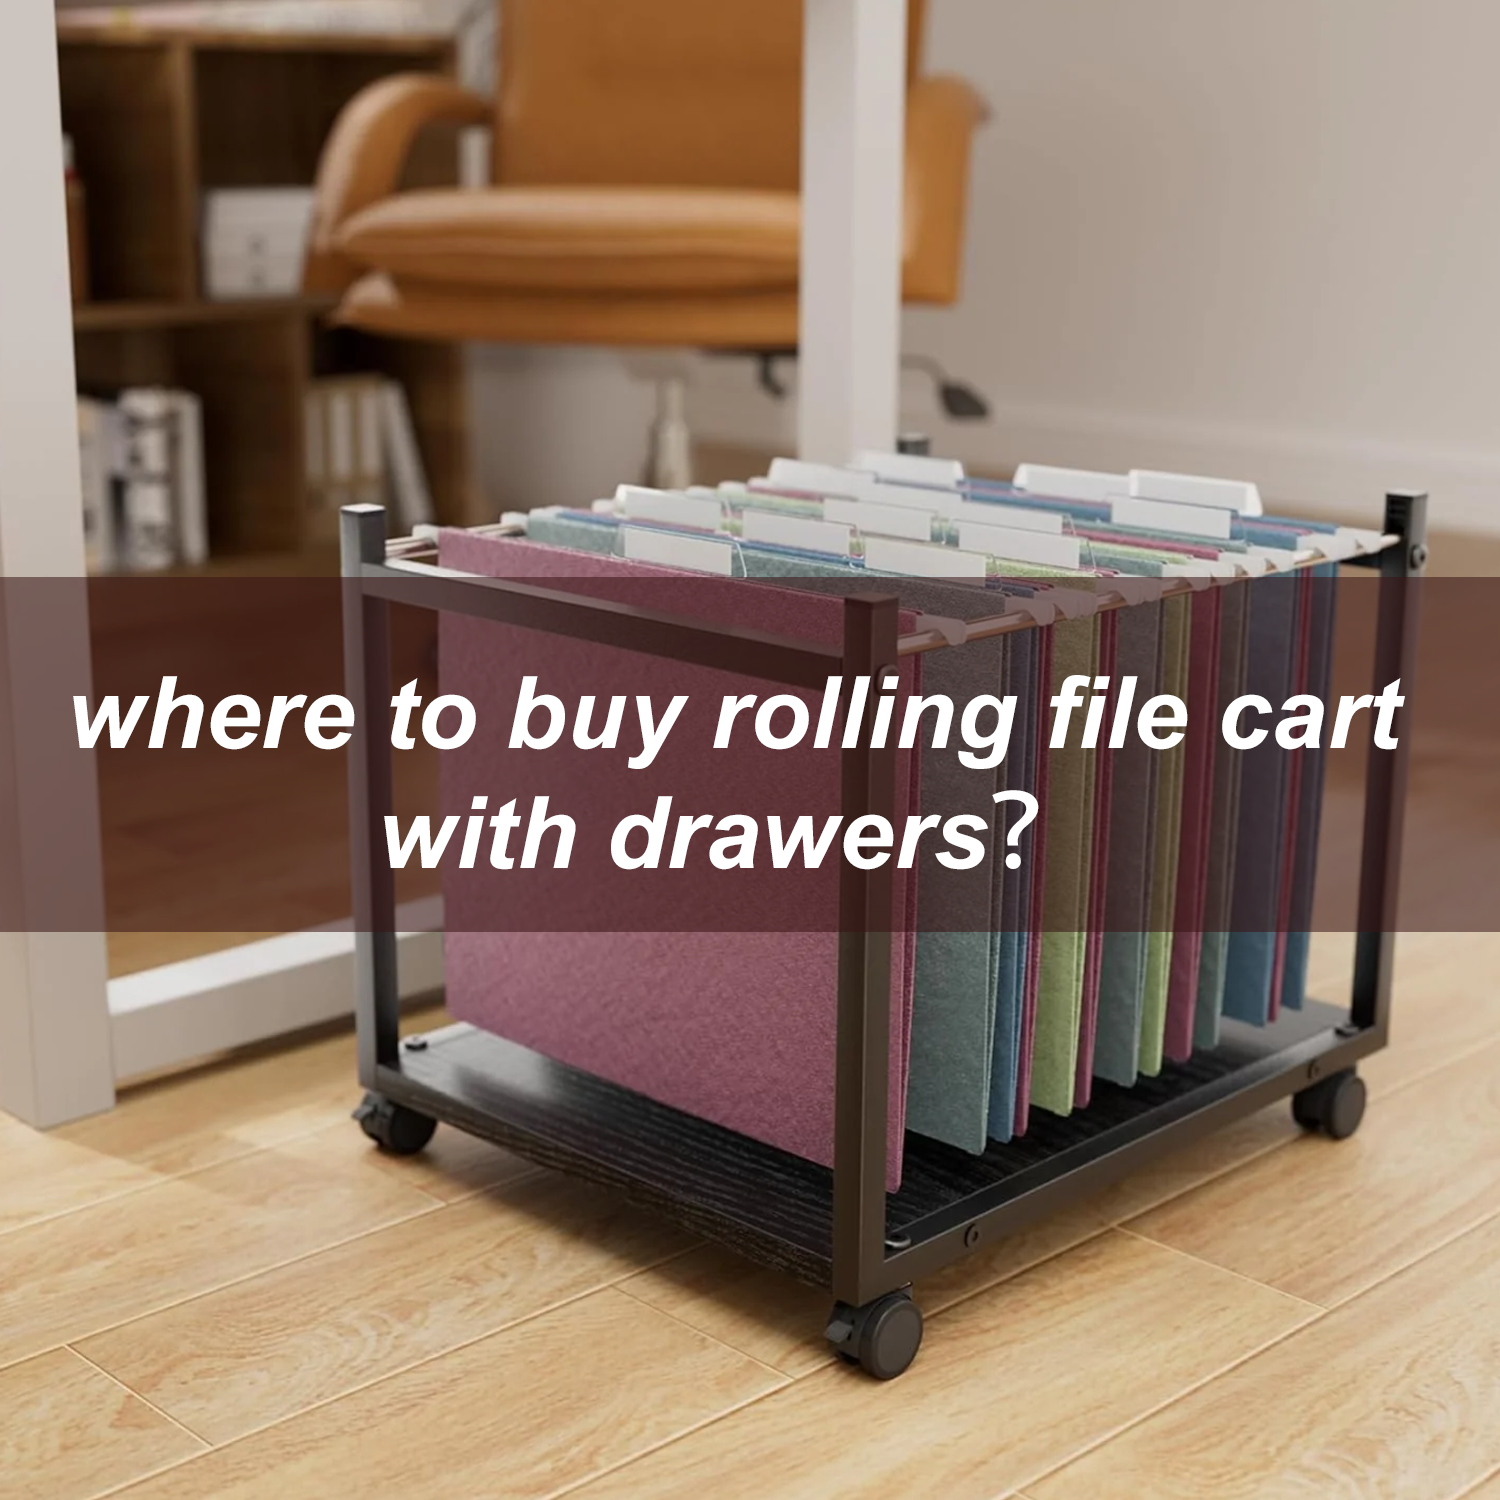
Assembling an office rolling file cart may seem daunting, but with the right approach and tools, it can be a straightforward process. Here’s a step-by-step guide to help you put together your rolling file cart efficiently and securely.
Step 1: Prepare Your Workspace
Before you start assembling the cart, ensure you have a clean, flat workspace. This will prevent small parts from getting lost and make the process easier.
-
Tools Needed: Most rolling file carts come with the necessary tools, such as Allen wrenches or screwdrivers. If not included, check the instructions for the required tools.
-
Unbox Carefully: Remove all parts from the packaging and lay them out. Check the assembly instructions to ensure you have all components.
Step 2: Familiarize Yourself with the Parts
Common parts of a rolling file cart include:
-
Frame pieces (top, bottom, and sides)
-
Drawer components
-
Wheels (casters)
-
Screws, bolts, and washers
-
File hanging rails (if applicable)
Refer to the instruction manual to identify and organize the parts.
Step 3: Assemble the Frame
-
Start with the Base: Connect the bottom frame pieces using the provided screws or bolts. Tighten them securely to ensure stability.
-
Attach the Side Panels: Fix the side panels to the base, ensuring they are aligned properly. Some models may require sliding the panels into pre-cut grooves.
-
Secure the Top Panel: Once the sides are in place, attach the top panel. Double-check that all screws or connectors are tightened.
Step 4: Install the Drawers
-
Assemble the Drawers: If your file cart includes drawers, assemble them by attaching the sides, base, and front panels. Use screws or clips as instructed.
-
Insert the Drawers: Slide the assembled drawers into the frame, ensuring they move smoothly along the rails.
Step 5: Attach the Wheels (Casters)
-
Flip the Frame: Carefully turn the frame upside down to access the bottom.
-
Install the Wheels: Insert the casters into the designated holes. Most wheels can be pushed or screwed in place. Ensure they are firmly attached.
-
Test the Mobility: Turn the cart upright and check that the wheels roll smoothly. Lock the wheels if your model includes this feature.
Step 6: Add Optional Features
-
File Hanging Rails: If your cart includes rails for hanging files, attach them to the designated slots inside the drawers or frame.
-
Accessories: Some carts may include additional shelves, dividers, or labels. Install these according to the instructions.
Step 7: Final Checks
-
Ensure all screws and bolts are tightened.
-
Test the stability of the cart by gently shaking it.
-
Check the drawers’ functionality and ensure they open and close smoothly.
-
Verify that the wheels are secure and lock properly if applicable.
Tips for a Smooth Assembly
-
Follow Instructions Closely: Always refer to the included manual. Diagrams and step-by-step directions are invaluable.
-
Work with a Partner: Having someone assist can make assembling larger or heavier carts easier.
-
Avoid Over-Tightening: While it’s essential to secure screws, over-tightening can damage parts, especially plastic components.
-
Keep Spare Parts: Manufacturers often include extra screws or bolts. Store them safely in case you need replacements later.
Common Troubleshooting Tips
-
Parts Don’t Fit: Double-check that you’re using the correct pieces as shown in the instructions. Ensure all parts are oriented correctly.
-
Wobbly Frame: Loosen the screws slightly, adjust the alignment, and retighten.
-
Drawer Issues: Check that the rails are installed evenly and are free of obstructions.
Maintenance Tips Post-Assembly
-
Clean Regularly: Wipe down your file cart to prevent dust buildup.
-
Check for Loose Screws: Periodically inspect and tighten screws to maintain stability.
-
Wheel Maintenance: Ensure the wheels are free of debris and move smoothly.
Conclusion
Assembling an office rolling file cart doesn’t have to be complicated. By following these steps and paying attention to detail, you can have your cart ready to use in no time. A well-assembled cart not only enhances your workspace but also ensures durability and efficiency. Enjoy your newly organized office!

