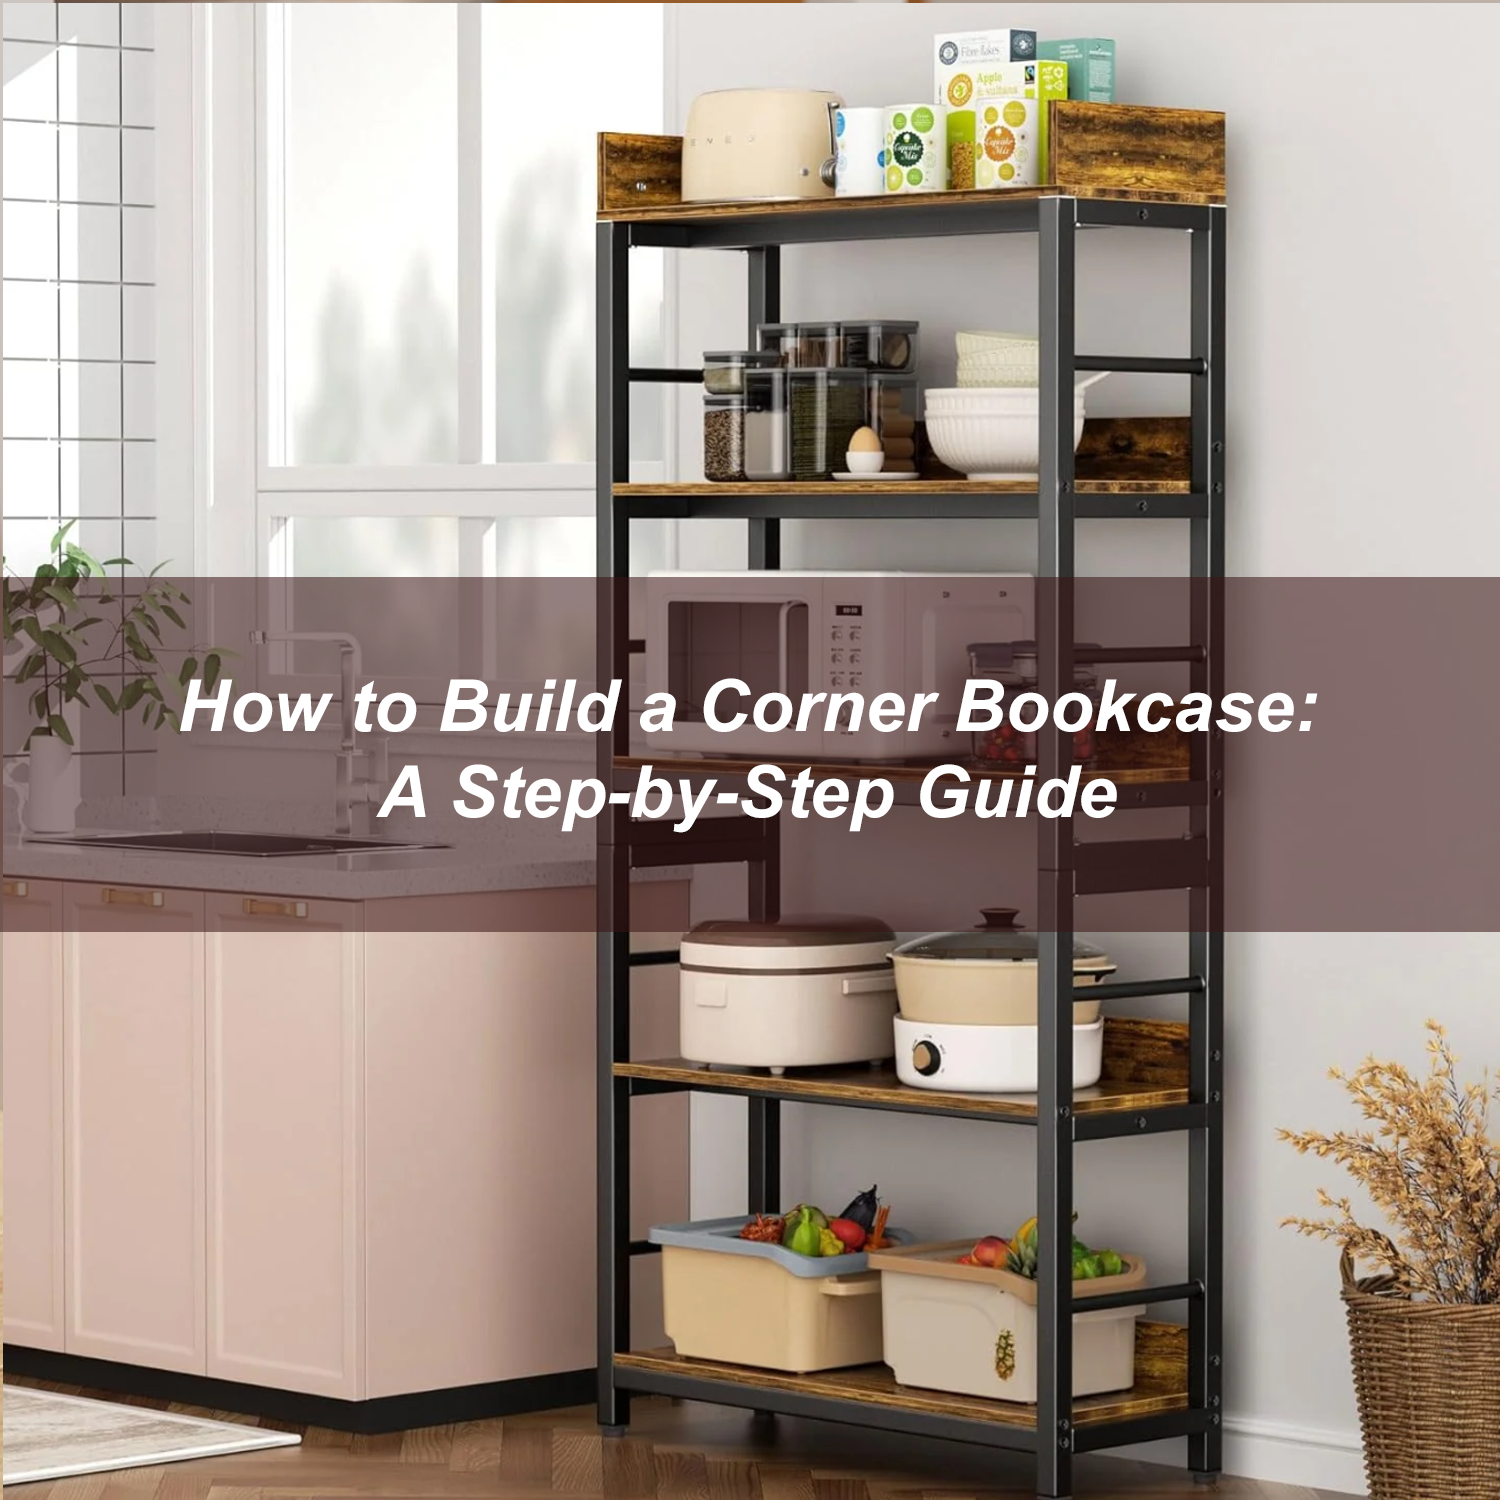


A corner bookshelf can be a charming addition to any room, serving both as a functional storage space and a decorative element. Here are some tips on how to decorate a corner bookshelf to make it a standout feature in your home.
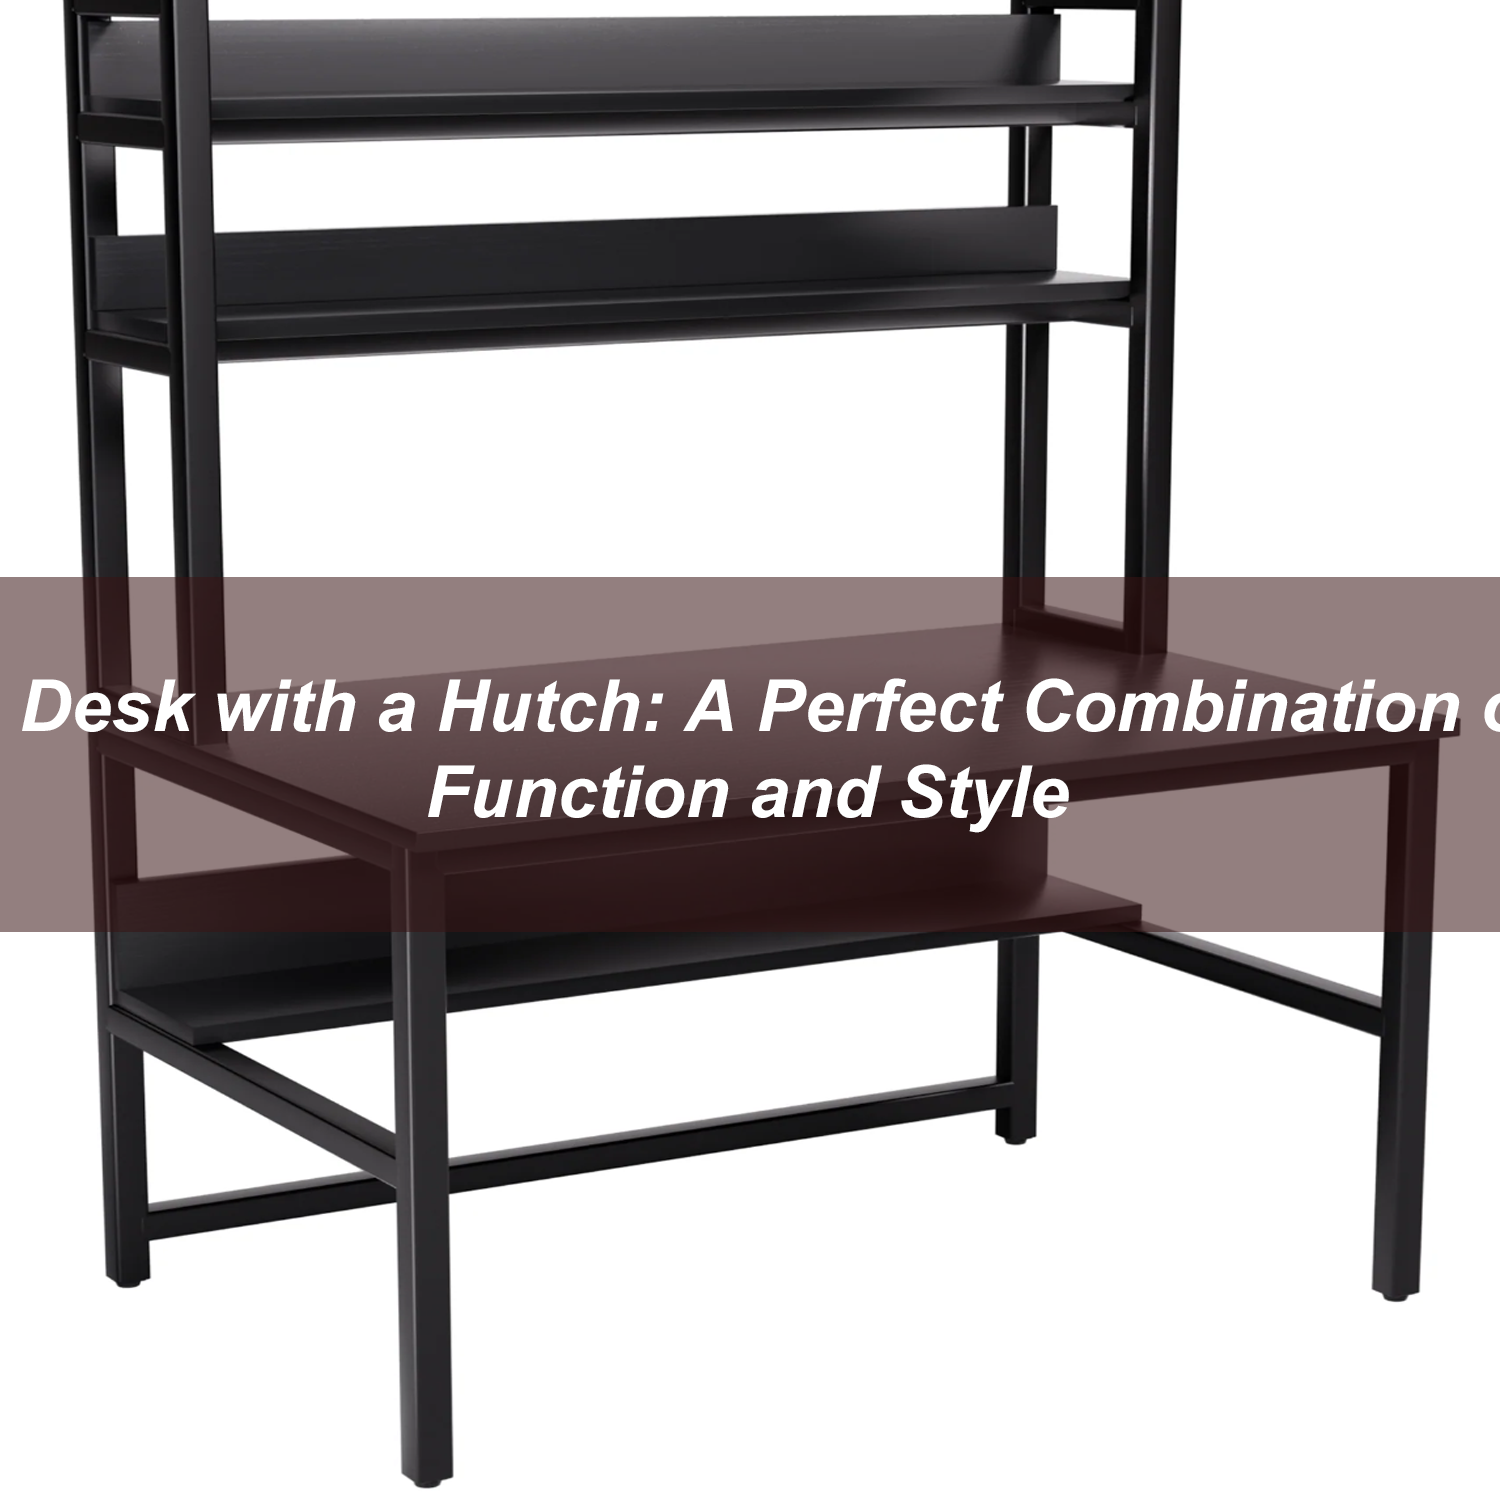
How to Build a Computer Desk with Hutch
Building a computer desk with a hutch is a great project for those who want to create a functional and stylish workspace. Here are the steps to build your own computer desk with a hutch:
Materials and Tools Needed
- Plywood or MDF (Medium-Density Fiberboard) for the desk surface and hutch components
- 2x4 lumber for the frame
- Screws, nails, and wood glue
- Table saw or circular saw
- Drill
- Screwdriver
- Measuring tape
- Sandpaper
- Paint or stain
- Safety equipment (gloves, goggles)
Step 1: Design and Planning
Start by deciding on the dimensions and layout of your desk. Consider the size of your computer, monitor, and any additional equipment you plan to keep on the desk. Sketch out your design, including the placement of drawers, shelves, and compartments.
Step 2: Build the Desk Frame
Cut the 2x4 lumber to the appropriate lengths for the frame of the desk. Assemble the frame using screws and wood glue, ensuring that all corners are square.
Step 3: Attach the Desk Surface
Cut the plywood or MDF to the size of the desk surface and attach it to the frame using screws. Make sure the surface is level and flush with the frame.
Step 4: Build the Hutch
Cut the plywood or MDF to the appropriate sizes for the sides, top, and shelves of the hutch. Assemble the hutch using screws and wood glue, ensuring that all corners are square.
Step 5: Attach the Hutch to the Desk
Position the hutch on top of the desk and attach it using screws. Make sure the hutch is level and flush with the desk surface.
Step 6: Add Drawers and Shelves
Cut the plywood or MDF to the appropriate sizes for the drawers and shelves. Install the drawers and shelves using slides and brackets.
Step 7: Sand and Finish
Sand all surfaces of the desk and hutch to smooth out any rough edges. Apply paint or stain to protect the wood and give it a finished look.
Step 8: Install Hardware
Install any hardware such as drawer pulls, knobs, and hinges.
Step 9: Final Assembly
Attach the legs to the desk frame and make any final adjustments to ensure everything is level and secure.
Conclusion
Building a computer desk with a hutch is a rewarding project that can be customized to fit your specific needs and style. By following these steps, you can create a functional and stylish workspace that will enhance your productivity and enjoyment.