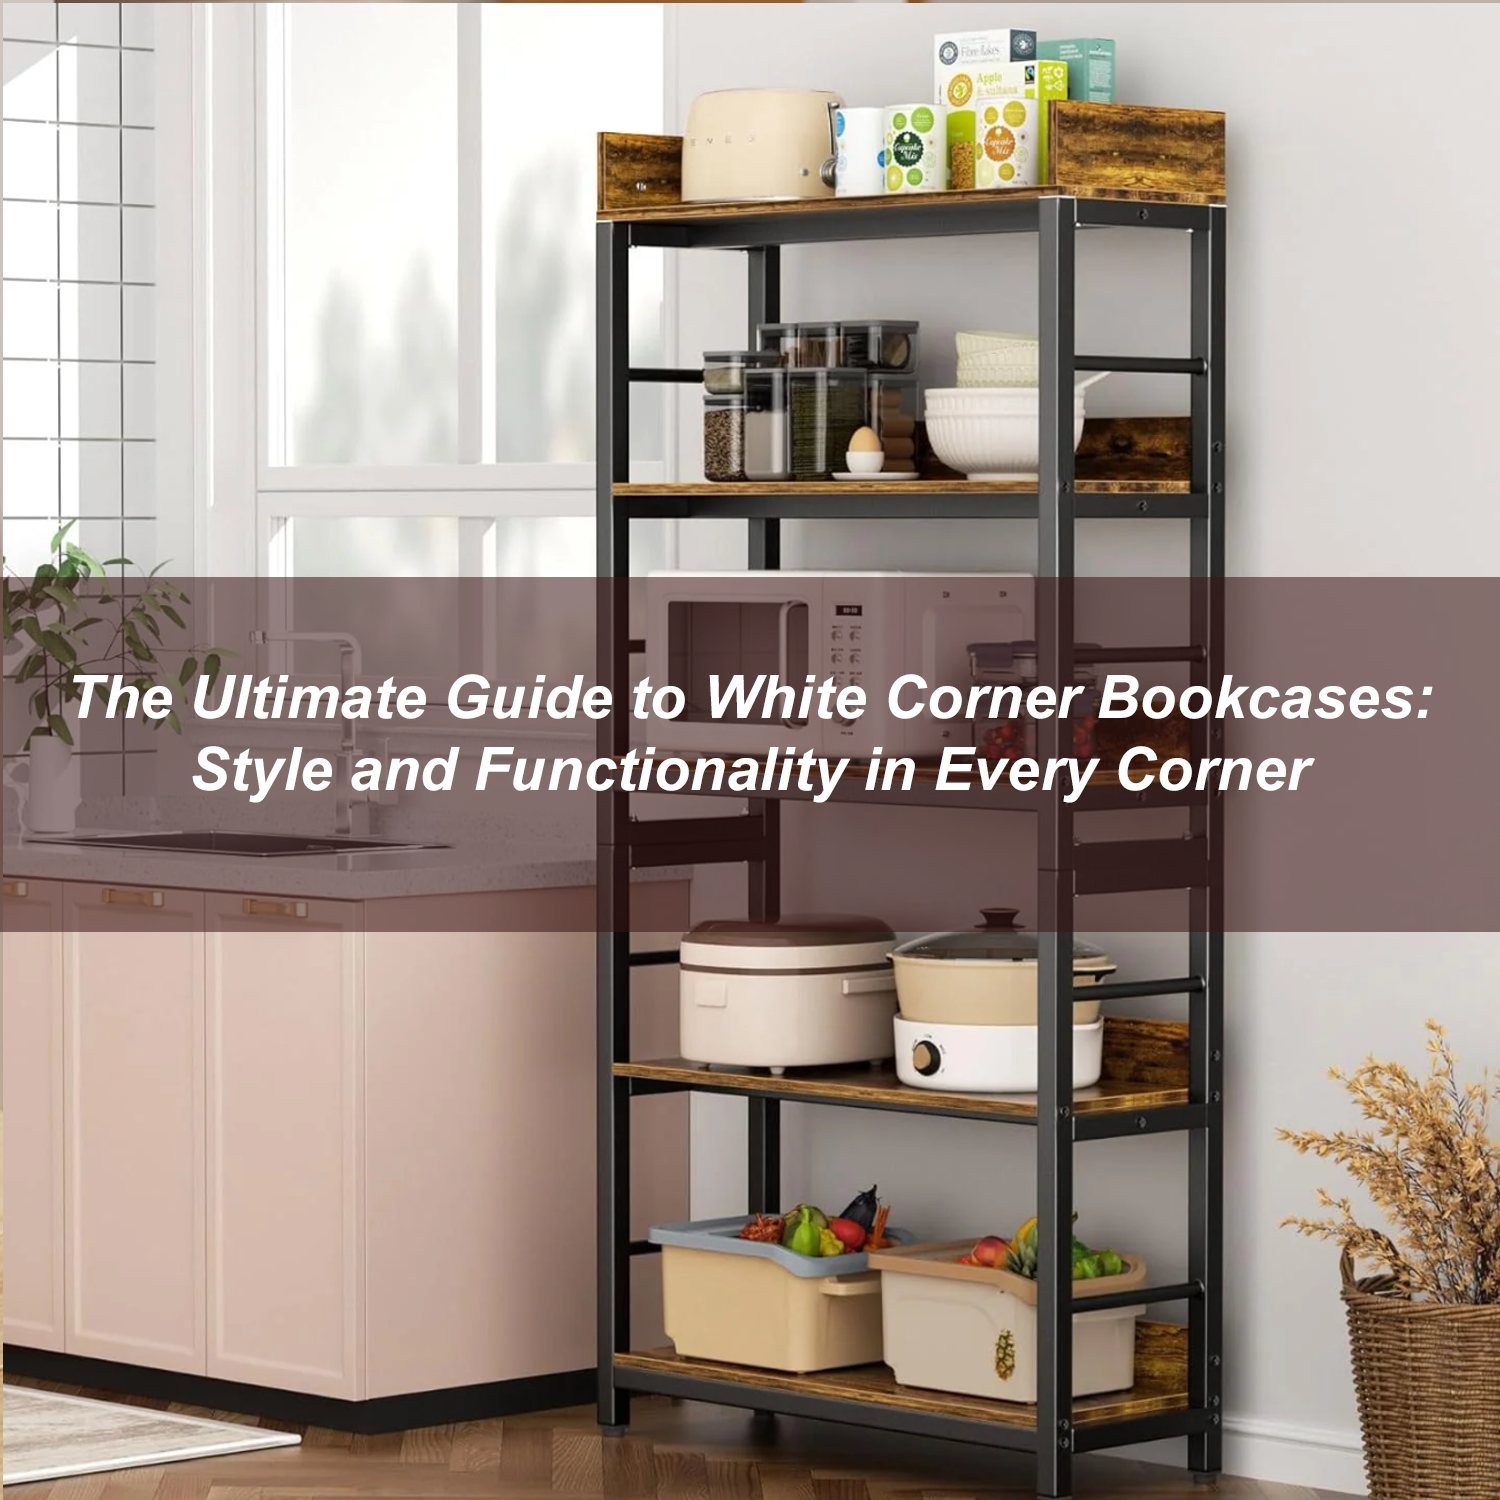

If you're looking to maximize space and add a stylish storage solution to your home, learning how to build a corner bookcase is a fantastic DIY project. Corner bookcases are perfect for small spaces, as they utilize often-overlooked corners while providing ample storage for books, decor, and more. In this guide, we’ll walk you through the process of building a corner bookcase, complete with tips and tricks to ensure your project is both functional and visually appealing.
Why Build a Corner Bookcase?
Before diving into the steps, let’s explore why a corner bookcase is a great addition to your home:
-
Space-Saving: Corners are often underutilized, making them ideal for bookcases.
-
Customizable: You can tailor the design to fit your space and style.
-
Cost-Effective: Building your own bookcase is often cheaper than buying one.
-
Satisfaction: There’s nothing quite like the pride of creating something with your own hands.
Materials and Tools You’ll Need
To build a corner bookcase, gather the following materials and tools:
Materials:
-
1x12 or 1x10 pine or plywood boards (for shelves and sides)
-
1x2 or 1x3 pine boards (for trim and support)
-
Wood screws
-
Wood glue
-
Sandpaper (120-grit and 220-grit)
-
Wood stain or paint
-
Finish nails
Tools:
-
Measuring tape
-
Circular saw or miter saw
-
Drill and drill bits
-
Screwdriver
-
Level
-
Clamps
-
Paintbrush or foam roller
Step-by-Step Instructions to Build a Corner Bookcase
Step 1: Measure and Plan
Start by measuring the corner where you plan to place the bookcase. Determine the height, width, and depth of the bookcase. A standard corner bookcase is around 6 feet tall with shelves that are 10-12 inches deep. Sketch a design to visualize the final product.
Step 2: Cut the Wood
Using your measurements, cut the following pieces:
-
Side Panels: Two triangular pieces for the sides.
-
Shelves: Rectangular pieces for each shelf.
-
Supports: Smaller pieces to reinforce the shelves.
Ensure all edges are smooth by sanding them with 120-grit sandpaper.
Step 3: Assemble the Frame
-
Attach the side panels to the wall studs using screws. Use a level to ensure they are perfectly vertical.
-
Install the shelves by attaching them to the side panels with wood screws and glue. Add support brackets underneath each shelf for extra stability.
Step 4: Add Trim and Finishing Touches
-
Cut and attach trim pieces to the edges of the shelves and sides for a polished look.
-
Fill any screw holes with wood filler and sand the entire bookcase with 220-grit sandpaper for a smooth finish.
Step 5: Stain or Paint
Apply your chosen wood stain or paint using a brush or roller. Allow it to dry completely before applying a second coat if needed. For added durability, consider applying a clear polyurethane finish.
Step 6: Secure the Bookcase
Once the finish is dry, secure the bookcase to the wall using L-brackets to prevent tipping.
Tips for Building a Corner Bookcase
-
Choose the Right Wood: Pine is affordable and easy to work with, while hardwood like oak offers greater durability.
-
Pre-Drill Holes: To avoid splitting the wood, pre-drill holes before inserting screws.
-
Customize the Design: Add adjustable shelves, decorative molding, or a back panel for a unique look.
-
Safety First: Always wear safety goggles and gloves when cutting and assembling wood.
Conclusion
Learning how to build a corner bookcase is a rewarding project that combines functionality and creativity. By following these steps, you can create a custom piece that fits perfectly in your space and complements your home decor. Whether you’re a seasoned DIYer or a beginner, this project is manageable and offers endless opportunities for customization.
So, grab your tools and get started on building your corner bookcase today! Not only will you save money, but you’ll also enjoy the satisfaction of creating something truly unique.