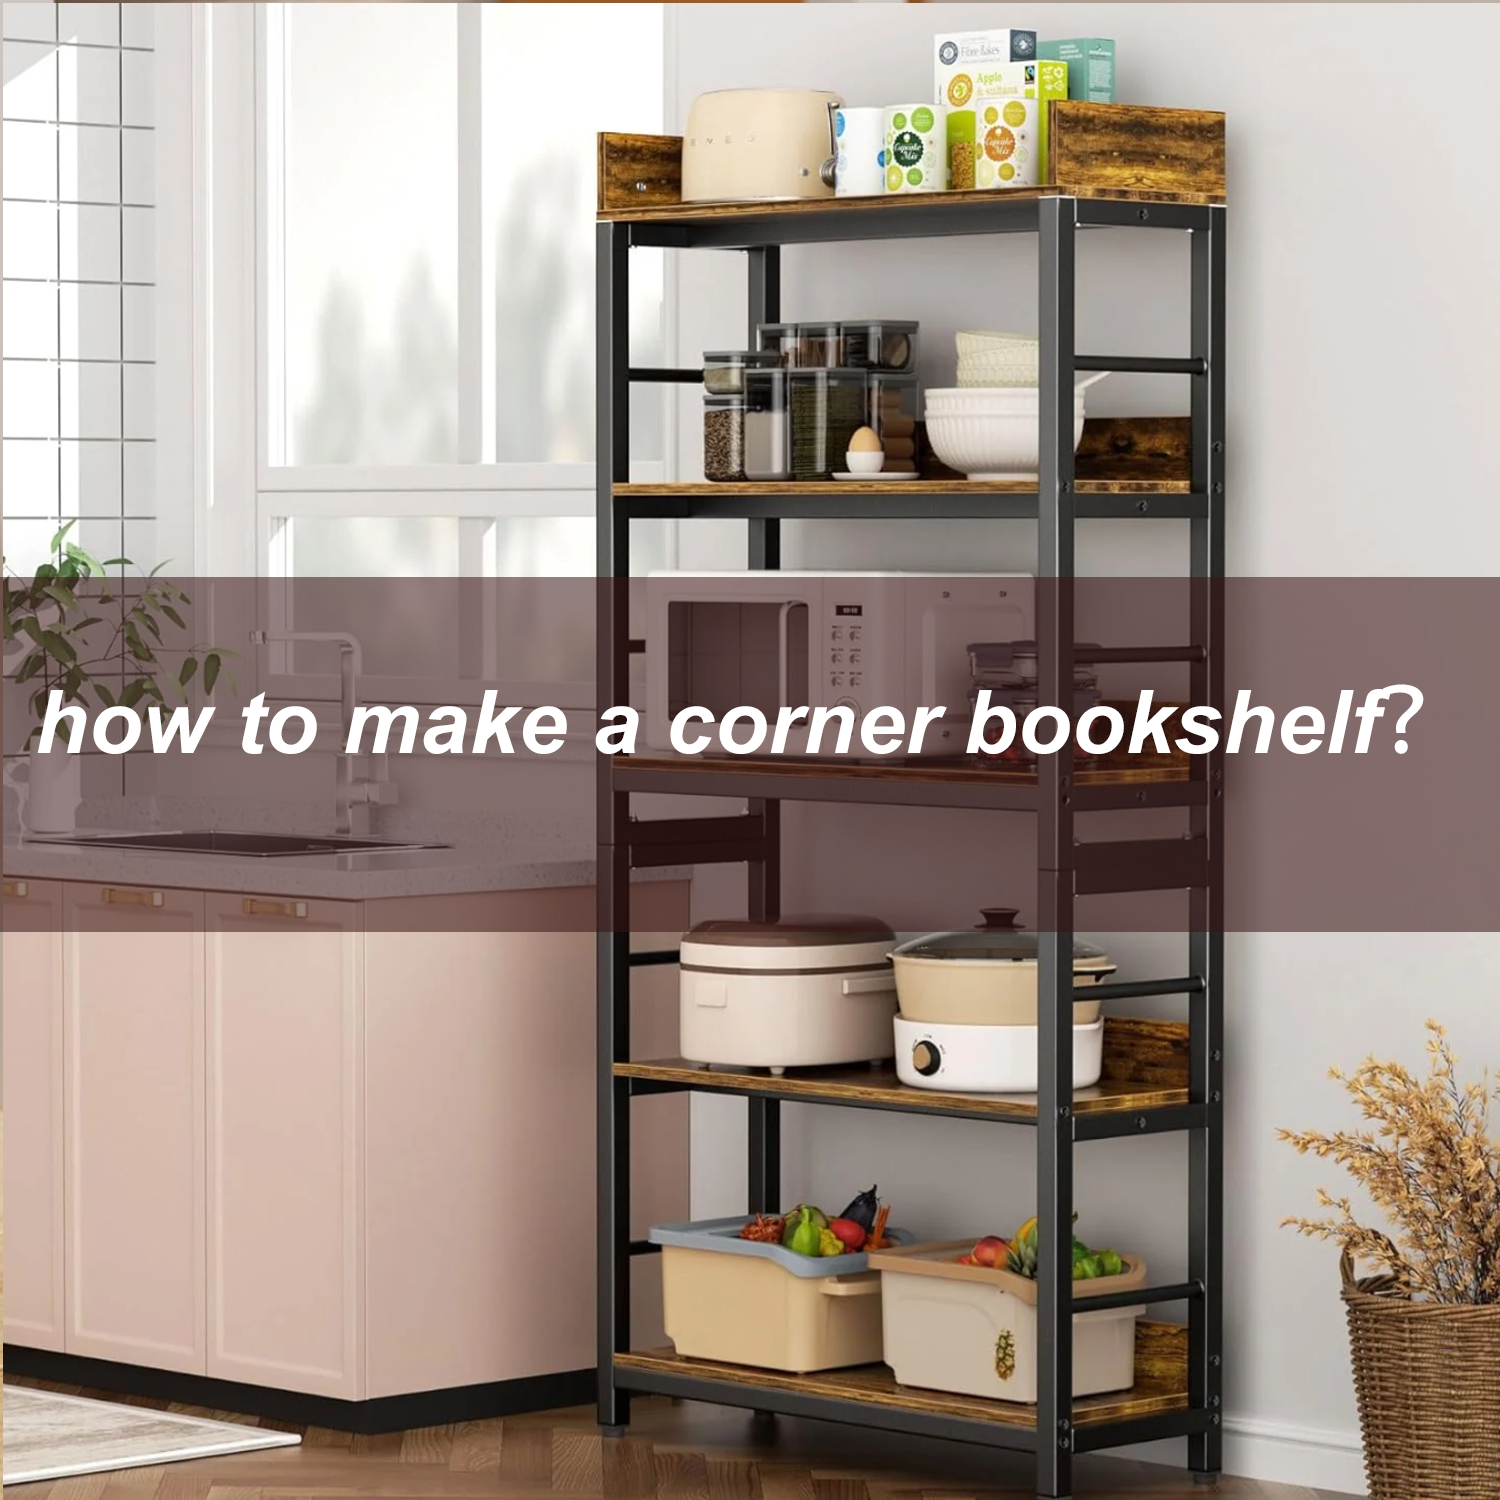


Building your own corner bookshelf is a practical and rewarding DIY project that adds both style and functionality to your living space. Corner bookshelves are perfect for utilizing those underused, often awkward spaces in your home while offering ample storage for books, decor, and more. Whether you're a seasoned DIYer or just getting started, this project can be tailored to fit your skill level and personal taste. In this guide, we’ll walk you through the steps to build a custom corner bookshelf that not only maximizes space but also complements your home decor.
Materials and Tools Needed
Before diving into the project, ensure you have all the materials and tools ready. Here's what you'll need:
Materials:
- Plywood (¾-inch thickness is ideal for shelves)
- Wood glue
- Wood screws (2 ½-inch length)
- Corner brackets (optional for extra support)
- Sandpaper (medium and fine grit)
- Wood stain or paint (optional for finishing)
Tools:
- Tape measure
- Pencil
- Circular saw or table saw
- Drill
- Screwdriver
- Level
- Clamps
- Paintbrush (if staining or painting)
Step 1: Measure and Plan
Start by measuring the corner where you want to place your bookshelf. Take careful measurements of the height, width, and depth of the space. This will help you determine the dimensions of the shelves. A common approach is to make the shelves around 12 to 14 inches deep, but you can adjust this depending on the space available and what you plan to store on the bookshelf.
Sketch a simple design of your bookshelf, taking into account the number of shelves you want, their spacing, and the size of the corner. For a floating corner shelf design, you’ll want to make sure your design allows for proper wall attachment. Alternatively, if you’re opting for a more traditional freestanding bookshelf, plan the dimensions accordingly.
Step 2: Cut the Wood
Once you have your measurements, transfer them onto the plywood. Use a tape measure and pencil to mark where the cuts need to be made. For a simple L-shaped corner bookshelf, you will need two side panels, several shelves (depending on your design), and a back panel (optional for more stability).
Using a circular saw or table saw, carefully cut the plywood pieces according to your measurements. If you're unfamiliar with power tools, you can ask your local hardware store to make the cuts for you, or use a handsaw for smaller projects.
Step 3: Sand and Smooth the Edges
After cutting the plywood pieces, smooth any rough edges using medium-grit sandpaper. This step is crucial for both aesthetics and safety, ensuring that there are no splinters or sharp edges. Once you’ve sanded the edges, switch to fine-grit sandpaper for a smoother finish.
You can also round the corners of the shelves for a softer look, depending on your style.
Step 4: Assemble the Bookshelf Frame
Now that your pieces are cut and sanded, it’s time to assemble the frame. Start by attaching the two side panels to the shelves. Lay the panels flat on the floor and position the shelves where you want them. For each shelf, apply a thin layer of wood glue to the edges of the panels where the shelf will rest, then drill pilot holes for the screws.
Secure the shelves to the side panels with screws, making sure they are level. Use a level tool to double-check each shelf’s alignment before fully tightening the screws.
If you want added strength, you can also install corner brackets where the shelves meet the side panels. This step is optional but recommended for heavy books or items. Ensure that the brackets are positioned flush with the wood and fasten them with screws.
Step 5: Install the Back Panel (Optional)
A back panel adds additional stability to the bookshelf and can help prevent it from tipping over, especially if it’s tall. If you’re installing a back panel, measure and cut the plywood to fit the dimensions of your frame. Secure the back panel to the frame with screws, ensuring that it’s flush with the edges.
If you prefer a more open design, you can skip the back panel for a lighter, airier feel.
Step 6: Finishing Touches
Once the bookshelf frame is assembled, it’s time to finish the wood. You can leave the wood natural for a rustic look, or you can stain or paint the bookshelf to match your decor.
To stain, apply a coat of wood stain using a brush or cloth, making sure to follow the grain of the wood. Wipe off any excess stain with a clean cloth, and allow it to dry before applying a second coat if necessary. For a painted finish, use a paintbrush to apply an even layer of paint and allow it to dry completely.
If you want a more durable finish, consider applying a clear wood varnish after staining or painting to protect the surface from scratches and moisture.
Step 7: Mount the Bookshelf
Once the finish has dried, it’s time to install your bookshelf in the corner. If you’re attaching the bookshelf to the wall for extra stability, use a drill to create pilot holes in the wall where you want to secure the bookshelf.
For a more temporary solution, you can simply place the bookshelf in the corner and use adhesive strips or brackets to hold it in place. Ensure that the bookshelf is level and positioned securely before loading it with books or other items.
Step 8: Organize and Decorate
Congratulations! Your corner bookshelf is now complete. Begin organizing your books and favorite decor pieces. A corner bookshelf is an ideal place to display plants, artwork, or family photos alongside your reading materials. If you want to add a personal touch, consider incorporating decorative baskets, small sculptures, or candles to complement the bookshelf and the room's overall design.
Conclusion
Building a corner bookshelf is a fulfilling project that enhances both the functionality and the aesthetic of your space. By following these steps and personalizing your design, you can create a custom piece that fits your needs and complements your home decor. Whether you opt for a simple, minimalist look or something more elaborate, a well-built corner bookshelf will become an eye-catching and practical addition to your home. Happy building!