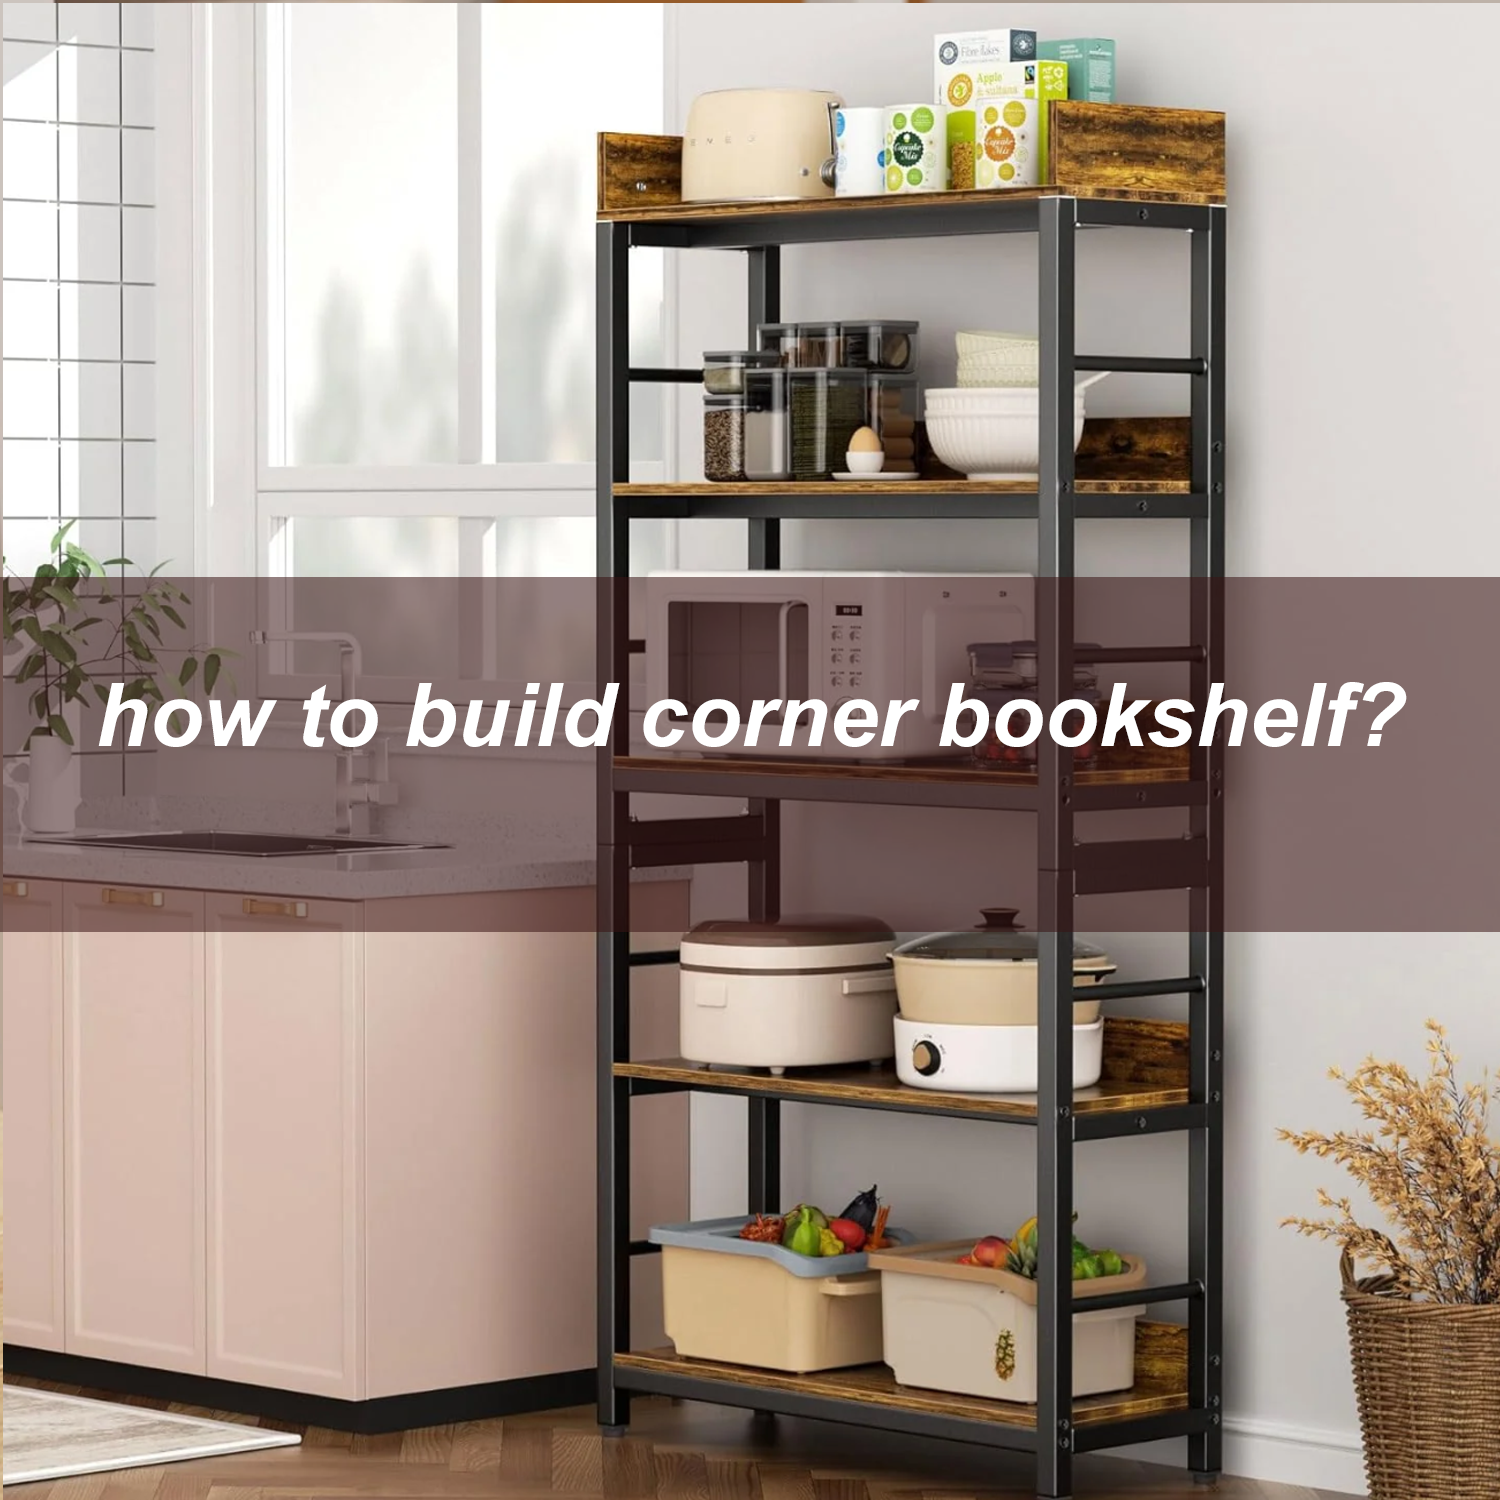

A corner bookshelf is a practical and stylish addition to any room, especially when you’re working with limited space. It helps you maximize unused corners, offering storage and display space without taking up much floor area. Whether you’re looking to organize your books, showcase decor, or create a functional feature in your living room or office, a DIY corner bookshelf is a project you can complete with some basic tools and materials. In this guide, we’ll walk you through the steps to make your own corner bookshelf.
Materials and Tools
Before you start, gather the following materials and tools:
Materials:
- ¾-inch plywood (or MDF) for the shelves and side panels
- Wood glue
- Screws (2-3 inches in length)
- Corner brackets (optional for extra support)
- Wood filler (optional, for covering screw holes)
- Paint or wood stain (optional)
- Clear wood finish or varnish (optional)
Tools:
- Measuring tape
- Pencil
- Circular saw or jigsaw
- Drill with screwdriver bits
- Level
- Sandpaper (medium and fine grit)
- Paintbrush (if painting or staining)
- Clamps (optional but helpful)
Step 1: Measure and Plan
The first step is to measure the space where you want to place your bookshelf. Start by measuring the dimensions of the corner—this includes the height, depth, and width of the space. A typical corner bookshelf design will have two side panels that extend into the corner and several horizontal shelves that fit between them.
Sketch out a rough design of your bookshelf. The shelves typically range from 10 to 14 inches in depth, but you can adjust this depending on the space available and how much storage you need. Decide how many shelves you want, keeping in mind that you’ll need enough room for books or other items you plan to display. For a standard corner bookshelf, three to five shelves are typical.
Step 2: Cut the Wood
Once you have your design ready, it’s time to cut your wood pieces to the correct size. You will need:
- Two side panels, which will be positioned at the edges of the corner.
- Several horizontal shelves.
- A back panel (optional, for extra stability).
Use your tape measure and pencil to mark the measurements on the plywood or MDF. Then, use a circular saw or jigsaw to cut the wood. If you’re new to using power tools, you can ask your local hardware store to cut the wood for you, or you can opt for hand tools like a handsaw for smaller cuts.
Remember to measure twice before cutting to avoid mistakes.
Step 3: Sand the Edges
Once you have your pieces cut, it’s time to smooth the edges. Use medium-grit sandpaper to sand down any rough areas from the cuts, and finish with fine-grit sandpaper for a smooth finish. This step is essential for ensuring that the bookshelf looks polished and is free of splinters or sharp edges.
If you prefer a more rounded or finished look, you can use a round-over router bit or carefully sand the corners of the shelves and side panels.
Step 4: Assemble the Bookshelf
Now that your wood pieces are cut and sanded, it’s time to assemble the bookshelf. Start by attaching the two side panels to the first shelf. Apply a thin layer of wood glue to the edge of the side panel where it will meet the shelf, and press the two pieces together. Drill pilot holes through the side panel into the shelf, and then screw them together using wood screws. Repeat this process for each additional shelf.
Make sure the shelves are level as you work. You can use a level tool to check the alignment and adjust as necessary before fully tightening the screws.
If you’d like extra support for your shelves, consider using corner brackets where the shelves meet the side panels. Attach the brackets to the shelves and side panels using screws.
Step 5: Attach the Back Panel
While a back panel is not necessary, it can add stability to your bookshelf, especially if it’s taller. If you want a back panel, measure and cut a piece of plywood to fit the width and height of your bookshelf’s frame. Attach the back panel to the bookshelf by screwing it into the side panels and shelves.
This step is optional, but it can help secure the bookshelf to the wall and make the structure more stable. If you don’t want a back panel, you can leave the design open for a lighter, airier look.
Step 6: Finish the Bookshelf
Once the bookshelf is fully assembled, it’s time to finish the wood. You can either stain or paint the bookshelf to match your existing decor. If you choose to stain the wood, apply the stain evenly using a brush or cloth, following the grain of the wood. Wipe off any excess stain with a clean rag, and allow it to dry. You may need to apply a second coat for a deeper color.
For a painted finish, use a high-quality paintbrush and apply a thin, even coat of paint. Be sure to allow the paint to dry fully between coats. Once the painting or staining is complete, you can apply a protective clear finish, such as polyurethane, to protect the surface and give it a glossy shine.
Step 7: Install the Bookshelf
Once your bookshelf is dry and the finish is set, it’s time to install it in the corner. If you’re attaching the bookshelf to the wall for added stability, use a drill to create pilot holes in the wall where the bookshelf will be mounted. Use wall anchors if you’re attaching the bookshelf to drywall, or screws directly into studs for more security.
Alternatively, you can place the bookshelf in the corner without attaching it to the wall, though this is less secure, especially if you have heavy books. Ensure that the bookshelf is stable and level before filling it with your favorite books and decor.
Step 8: Organize and Decorate
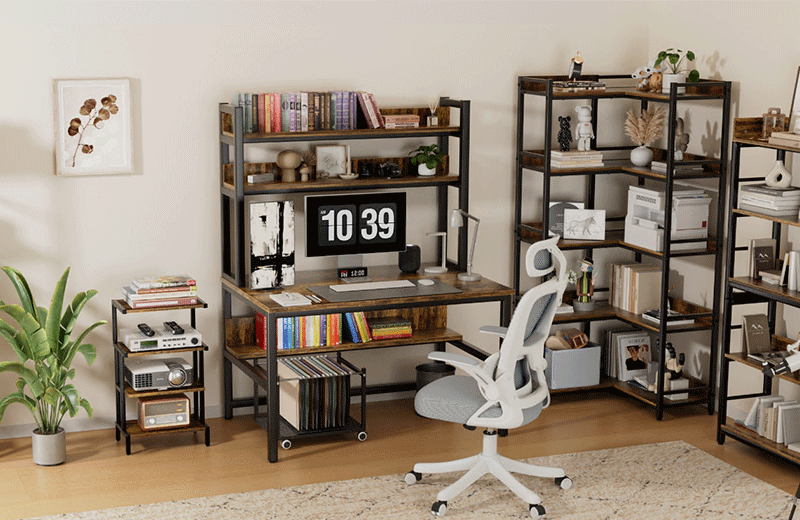
Finally, organize your books and other items on the corner bookshelf. Bookshelves are great for more than just books—use the shelves to display small plants, framed photos, candles, or decorative objects. Corner bookshelves are also perfect for storing items like board games, office supplies, or extra kitchenware. Be sure to distribute the weight evenly to keep the bookshelf balanced.
Conclusion
Building a corner bookshelf is a rewarding DIY project that allows you to create custom storage in your home. With the right materials, tools, and a little patience, you can make a functional and stylish corner bookshelf that fits perfectly into your space. Whether you’re an experienced DIYer or a beginner, this project can be adjusted to suit your needs. Plus, the satisfaction of having built your own furniture adds a special personal touch to your home decor. Happy building!