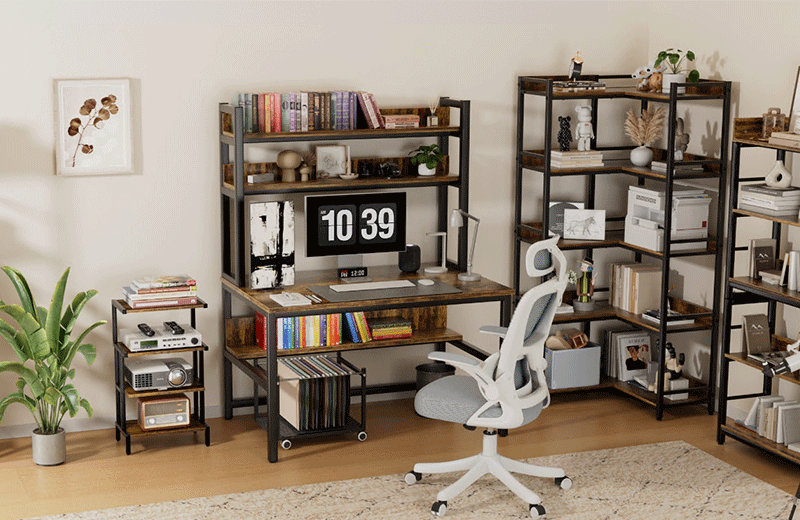
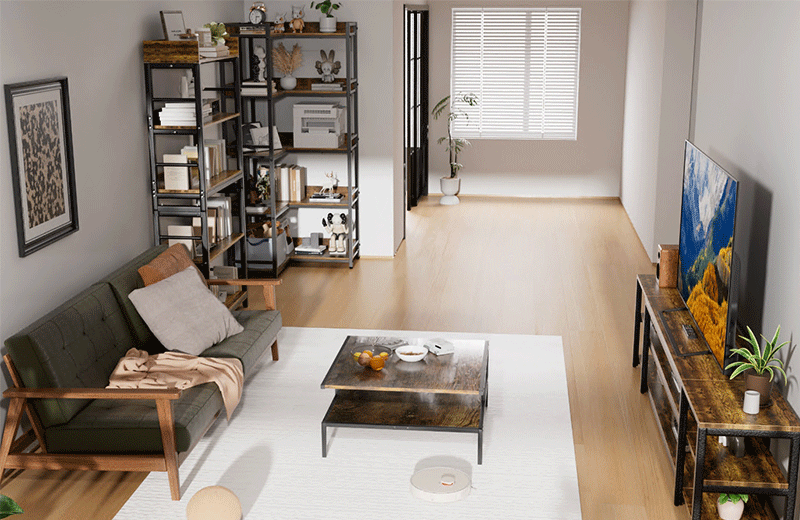
In modern homes, making full use of every corner is essential for creating a cozy and functional living space. Building a corner bookshelf is a great way to not only store books but also add a touch of personality to your home.
I. Preparation
-
Materials
- Wood is the most common material for building a corner bookshelf. You can choose wooden boards with appropriate thickness and width according to your needs. For example, plywood is a good choice as it is relatively inexpensive and easy to work with.
- Screws are necessary for connecting the wooden parts firmly. Make sure they are long enough to go through the layers of wood.
- Sandpaper is used to smooth the edges and surfaces of the wood, preventing splinters and giving a better appearance.
- Paint or varnish can be applied to enhance the color and protect the wood.
-
Tools
- A saw is essential for cutting the wooden boards into the desired shapes and sizes.
- A drill is used to make holes for screws.
- A measuring tape and a pencil are necessary for accurate measurement and marking on the wood.
II. Design and Measurement
-
Corner Adaptation
- First, carefully measure the dimensions of the corner where you plan to build the bookshelf. Consider the angle of the corner, whether it is a right angle or an obtuse/acute angle.
-
Shelf Layout
- Decide on the number and height of the shelves based on the types of books you plan to store. For larger books like hardcover novels or art albums, you may need wider and sturdier shelves. Also, think about the overall aesthetic you want to achieve. You can choose a simple, straight - line layout or a more creative, angular or curved design.
III. Construction Steps
-
Frame Building
- Start by cutting the wooden boards according to your measurements. Cut the side panels of the bookshelf first, making sure they fit the shape of the corner closely.
- Use screws to attach the side panels together at the corners. Make sure the joints are tight and the frame is square.
-
Shelf Installation
- Cut the shelves to the appropriate lengths. If you want to create a more interesting look, you can cut the edges of the shelves into curves or notches.
- Place the shelves at the desired heights within the frame. Use screws to attach them securely. Make sure the shelves are level to ensure the books will sit evenly.
-
Finishing Touches
- Sand the entire bookshelf to smooth out any rough surfaces. Then, you can apply paint or varnish according to your preference. This not only enhances the appearance but also provides protection against moisture and wear.
IV. Installation
-
Wall Fixing (if necessary)
- If your corner bookshelf needs additional support, especially if it is tall or will hold heavy books, you can attach it to the wall.
- Drill holes in the back of the bookshelf and the corresponding wall, then use screws or brackets to secure it in place.
In conclusion, building a corner bookshelf is a rewarding DIY project. With careful planning, proper materials, and precise construction, you can create a functional and stylish bookshelf that will be a great addition to your home.

